Home Improvement Tips to Make Your Project Easier
DIY home improvement projects may sometimes seem like a scary task, mainly if you undertake them all alone. However, DIY home improvement is not just about remodeling and fixing up a house; it is about getting everything done. This alone can be such a revelation. But fret not; there are a number of very simple and effective DIY hacks that will save you time, effort, and frustration. Here are 10 DIY home improvement tips that will make your next project a proverbial piece of cake:
- Find Stud Without the Need for Stud Finder
Most DIY projects require the knowledge of where to place studs in the wall; however, there is no need for a stud finder all the time whenever you have just to tap and listen to a sound that reverberates more than the hollow sound in between the two studs. By dropping the sound, you can recognize the presence of a stud. Measure at a distance of 16, 12, or 24 inches from the corner-most depending on the areas of most residential constructions to determine where the studs are. The middle of that sound creates the center of the stud, mark, and continue measuring to find the other studs. This method is not complicated and it is effective and even for those who are used to doing minor home repairs. - Consider Rent a Dumpster for Big Projects
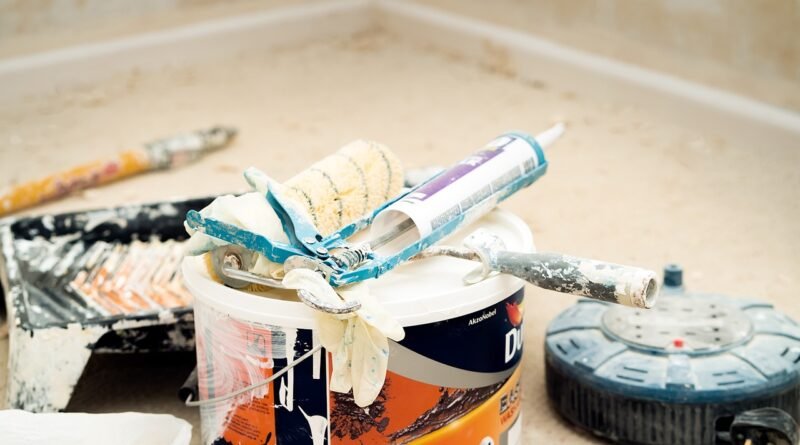
If you work on a major DIY project in-home, you are just sure to make more waste than you probably think. Opting for a roll-off dumpsters rental will just be a practical decision that will save time and effort. Whether for renovation, clearing your garage, or a demolition project, a dumpster allows easier cleanup. Roll-off dumpsters have several sizes; you will usually get a 10-yard container, which will become a 40-yard dumpster for large-scale projects. Having the dumpster near your workspace keeps the area neat instead of being cluttered and bogging down the work. - Dry in a Hurry
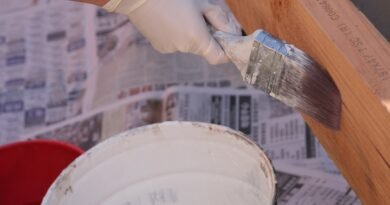
One of the most tedious works coming from home improvement is waiting for compounds like paint or joint to get completely dry. Faster drying times can be managed. First of all, you have to accept that you have a lack of suitable ventilation-particularly dormer windows to allow airflow or oscillating fan for best results. Adopt zero-VOC to have a faster drying time and no or less solvent smells while it’s drying. Apply lighter coats of paint with a foam brush or roller to take up as less paint as possible and add another coat which will dry more rapidly than the original coat. If you are using joint compound, use a hair dryer, or for bigger areas, an electric space heater speeds up drying. - Easily Clean Chandeliers and Odd Fixtures
Cleaning intricate or difficult-to-reach chandeliers doesn’t have to be a chore. Forget the duster and slip on a pair of white cotton gloves instead. The glove allows you to grip delicate items, which makes cleaning an intricate surface easier. To apply the cleaning solution, spray it straight on the one glove and then wipe it off with the other hand. This method not only works but is also gentler for the fragile components of your fixtures. - Lay Tile Perfectly-even Novices Can Do It
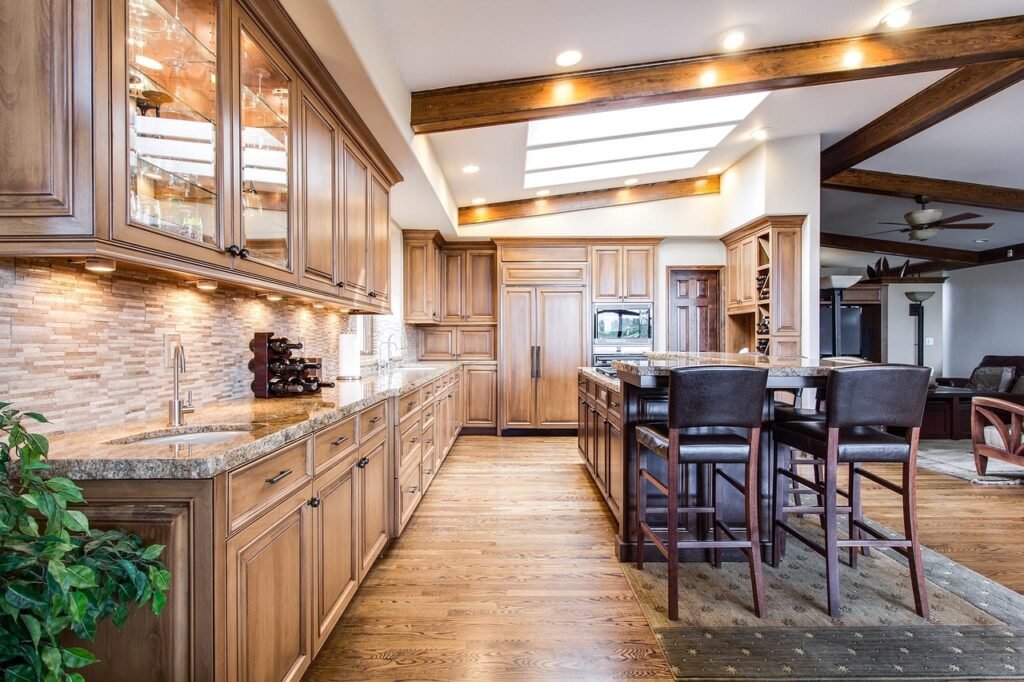
Laying tile may be a scary task, but it can be done easily enough if you do it the correct way. The key lies in its preciseness. Hence, the method for ensuring tiles go straight and patterned in the right arrangement is to create layout boards. Initially, dry-fit your tiles on the floor to visualize the layout. A piece of wood as level (layout board) should be marked where each tile should go. Once you marked your pattern, nail the board into place at the beginning of your row. By mortar spread it out and put down tiles, each tile will get into line with the marks on your layout board. That makes it much easier to aim for having a straight and even layout without the eyeballing strain. - Well, Annexed Fingernails
Cleaning of small debris like nails and screws is one of the final parts of a project that people usually skip. It is very important, particularly if you have children and pets. To know if you already picked up every stray nail, sweep the major work area with a large magnet. It’s a quick and more effective way of collecting small metal objects that could be left behind without the danger and with all cleanliness. - Picture Your Room in a New Layout
Re-arrangement of the room is a real mess if you have not seen how the new arrangement arises in real life. In order to visualize how the new layout should appear, make a grid pattern of how these string and nails or tacks could outline this design on the floor. So, you can “sketch” your layout before deciding to actually indulge yourself in such changes. Now you are pleased with the new layout, measure the strings for exact dimensions. Such calculation provides information about the usability of the space, which will not involve expensive and time-wasting mistakes. - Don’t Own tools; Rent Them
A lot of tools that do come in handy for minor jobs around the house are really just occasional use items and the outlay for their purchase might not be something you could always afford. For example, tools like masonry drills, stud guns, or even chain saws – it might be best to rent them when you need them. A hardware store local to you has the tools for rent. There is no harm as such but if you switch to renting, you can save both money and space. Renting allows use of the tools without facing the unnecessary trouble of storage. - Studs Should be Space 16 Inches Apart from Each Other
These include the distances from one stud to another measured right from that heart center of that stud. In a wall for a smaller closet or another framing, then some people make the mistake of keeping two studs right against each other. If anyone wants to build a wall, an important rule must be functional — that the center of one stud is always laid 16 inches away from the center of the next stud. To lay out the walls in the easiest and precise fashion, mark the place where the studs will go onto the plates. This should be done with the help of a tape measure, followed by a straight edge across both boards to ensure a straight line as the studs are placed, putting them straight up.
Leak Detection Without Equipment
Patching up leaks in the simplest way possible is the sole cause of leakage but often, it’s not that complicated either. For example, crucial checkpoints can also include evidence of dampness like stains, mildew, and battered walls, which can fast-track the identification of the location of the leak. For hidden leaks, it is advised that one check his meter for water. Position the needle of the gauge and turn off all the water sources in the house for an hour. If the needle moved all the way to one side, then you have a broken pipe of plumbing.
So, in order that people who are trying to do small improvements or big projects in their homes can save time, lessen stress, and get good results by doing what they have to do in their homes. These are tips that would actually help in making a person’s Do-It-Yourself time be more organized. Happy renovating!